Getting Started
This section will guide you through setting up webhooks for your application, from prerequisites to configuration and testing. Follow these steps to start receiving real-time notifications from the Hub platform.
Prerequisites
Before setting up webhooks, ensure you meet the following requirements:
- Access to the Hub platform: Verify you have the necessary permissions to create webhook listeners in your project.
- Endpoint Setup: Prepare an HTTP endpoint that can receive
POSTrequests withapplication/jsoncontent type. This will be the URL where webhook notifications will be sent. - Familiarity with JSON and HTTP: Understanding JSON structure and HTTP request handling will make it easier to parse and respond to webhook payloads.
Quick Start Guide
1. Configuring Your Webhook Listener
To set up a webhook listener, follow these steps:
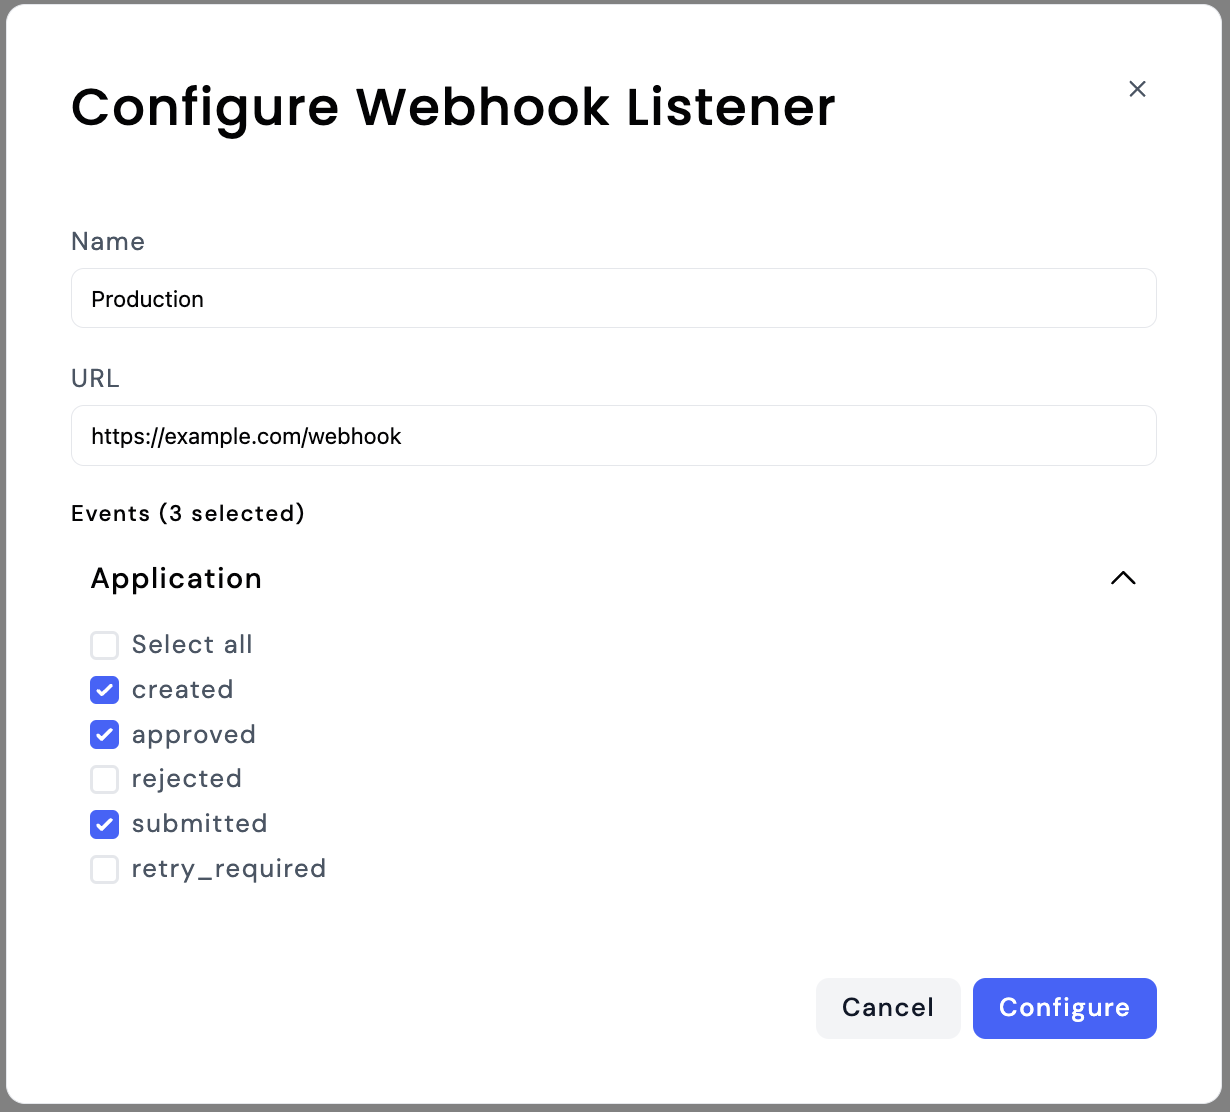
- Navigate to Webhook Settings: Log in to your account, access the project integration page, go the
Webhookssection, and click on "Add a new listener". - Specify Endpoint URL: Enter the public URL of your HTTP endpoint that will handle incoming webhook events.
- Select Events: Choose the event types you want to receive. You can filter specific event kinds (e.g.,
application.createdorapplication.approved) to ensure only relevant events trigger your listener. - Confirm: Confirm the listener details and save the configuration.

Setting Up Multiple Listeners
The platform supports multiple webhook listeners, enabling you to set up distinct endpoints for different purposes. For example, you might:
- Route Events by Type: Use one endpoint for
applicationevents and another for other types. - Separate Environments: Use one listener for production and another for development to test new configurations without affecting live data.
Enabling and Disabling Listeners
You can enable or disable listeners at any time from the Webhook settings:
- Enabling a Listener: This will start delivering events to the listener's endpoint.
- Disabling a Listener: Temporarily stops notifications to that endpoint, which can be useful for maintenance or debugging.
When a listener is disabled, events will not be sent to the endpoint, and any failed deliveries won't be retried.